

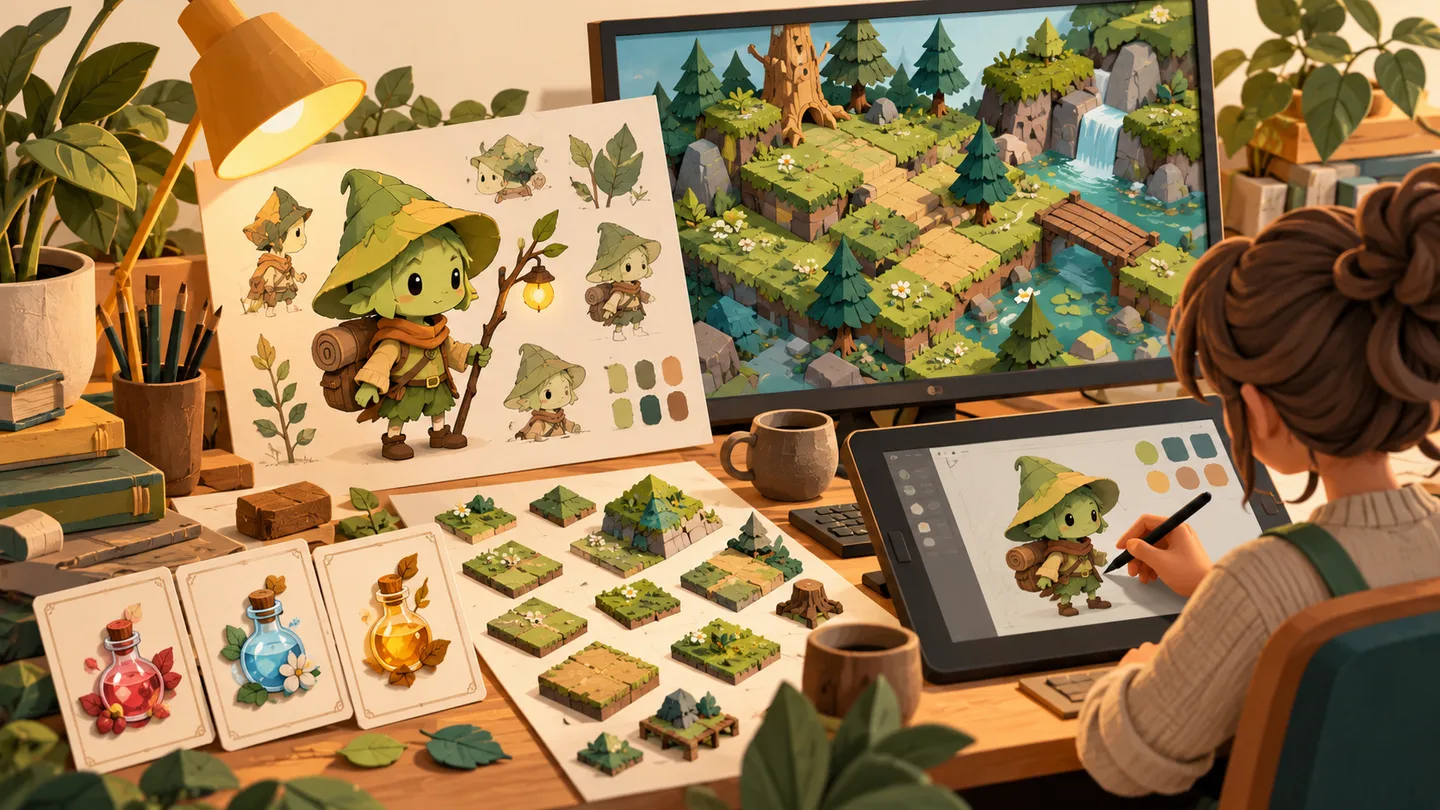
A generated character can look excellent on its own and still be unsuitable for a game. It may face the wrong direction, contain details that disappear at gameplay size, or change shape between animation frames. The production problem begins after the attractive image: can you turn it into a consistent asset that works with the rest of the project?
An effective AI game art workflow connects concept generation with ordinary art direction, file preparation, and engine testing. It defines what an asset must do before asking a model to create it. That approach is especially useful for a small team, where the same person may be choosing the visual style, editing images, and importing them into the game.
This guide considers Scenario, Leonardo, and Adobe Firefly as concept-generation options, then explains a practical path to usable 2D assets. Official sources were checked on October 12, 2026. The sample project and production process are illustrative; no independent speed, quality, or cost benchmark is claimed.
Start with an asset specification
Write down the role of the asset. A player character must remain recognisable during movement. A background should support the scene without hiding interactive objects. An inventory icon needs a readable silhouette at a small size. These requirements are different, even when all three assets share the same visual style.
Define the view and scale. Is the game side-on, top-down, or isometric? How large will the character appear on screen? Which direction does the light come from? Keep those choices in a short art specification. A model can generate many appealing alternatives that are unusable because they solve a different visual problem.
Also specify the delivery format your project expects. Record canvas dimensions, transparency requirements, naming conventions, and any animation states. If you do not know those requirements yet, build a placeholder in the engine first. A simple block can help establish the necessary size and movement before you commission detailed art.
Choose a tool for a defined production task
| Tool | Documented capability | A sensible trial | What still needs checking |
|---|---|---|---|
| Scenario | Creative generation and custom models from references | A small group of related asset concepts | Consistency and cleanup effort |
| Leonardo | Image generation and creative editing workflows | Character, prop or environment exploration | Usability at gameplay size |
| Adobe Firefly | Image generation and editing tools | A concept or variation within an Adobe-oriented workflow | Selected model, output and revision needs |
| Godot example workflow | Importing frames and sprite sheets for animation | A small in-engine animation test | Alignment, timing and state transitions |
Godot is included as an integration example, not an image generator. The distinction is deliberate: the final evaluation happens where the asset will be used. A production workflow needs both image creation and a way to test its behaviour.
Scenario: investigate a repeatable visual family
Scenario's official site describes creative production workflows and custom models trained on a user's own reference material. That makes it relevant when a project needs related assets rather than a collection of unrelated images. It does not establish that every output will meet your art specification without revision. Source: Scenario.
Use a small asset family as your trial. For example, request several props intended for the same environment. Compare camera angle, shading, edge treatment, and relative scale. The important question is whether they look as though they belong in one game after the expected cleanup.
If you investigate custom training, use material you are authorised to provide and follow the current product's documented requirements. Do not assume a universal number of training images or a guaranteed result. The quality and consistency of the reference set are part of the production work you need to evaluate.
Leonardo: investigate concepts against a clear brief
Leonardo presents an image-generation platform with creative tools for generating and refining visual material. Its official site is the starting point for current capabilities and tutorials. This guide does not repeat promotional production-savings claims as independently verified results. Source: Leonardo.
A useful trial is one character concept, one prop, and one background detail under the same art brief. Place the outputs beside each other at the intended game scale. If they only look related when viewed as large illustrations, the style specification may need to become simpler and more precise.
Save the prompts, references, and selected settings for useful results. An image without its production context is harder to extend later. If a model or interface changes, the saved record also helps explain why a new attempt may not match an older asset exactly.
Adobe Firefly: investigate generation and refinement
Adobe's Firefly page describes image generation and editing and distinguishes Adobe models from partner models. Record which model and workflow you select rather than treating the platform name as a complete description of the production process. Source: Adobe Firefly.
For a trial, use an original concept with a narrow purpose, such as a background prop in a defined palette. Review the edges, unwanted details, and consistency with the rest of the scene. If the asset needs transparent regions, inspect those regions against both light and dark backgrounds after preparation.
Keep the source illustration and the game-ready export as separate files. Future changes may require returning to the larger image or editable working file. Repeatedly modifying only a compressed final export can make revision less flexible and obscure what changed.
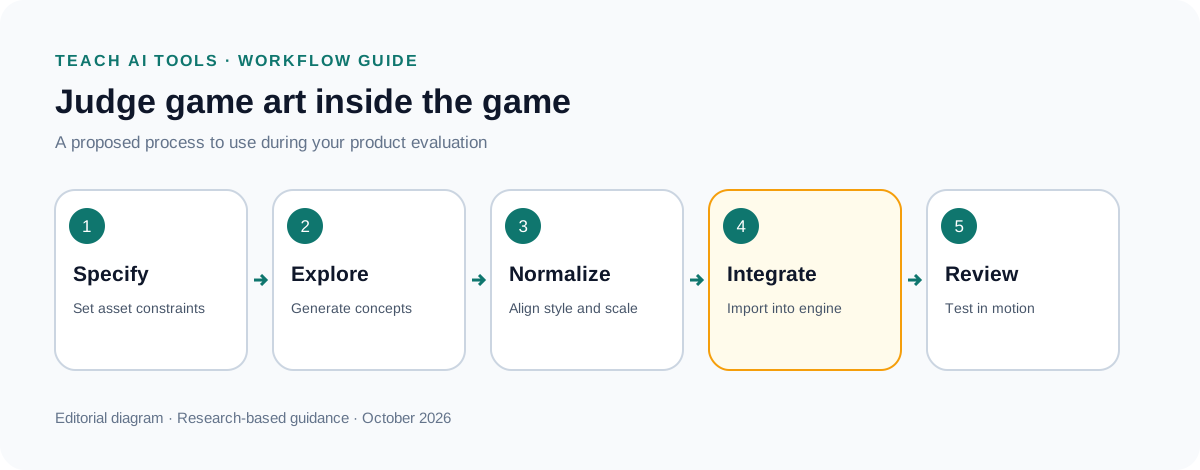
A practical workflow for a small 2D asset set
Imagine an illustrative forest exploration game that needs one character, a ground tile, a collectible, and a background prop. Begin with placeholders in a test scene. Establish how large each object should appear and how the player moves around it. This is the functional baseline for the art.
Create a compact art sheet describing the palette, view, lighting, outline treatment, and level of detail. Add a few original or authorised references. Write what the style excludes as well as what it includes, such as avoiding tiny decorative lines that disappear at the target size.
Generate a small number of concepts for each role. Select candidates by fit to the specification, not only by beauty. Normalise them in an image editor, then import them into the test scene. Reject or revise assets that undermine readability even if they looked impressive in isolation.
Once the set works together, document the accepted decisions and expand gradually. A consistent small set is a better foundation than a large folder of images with incompatible perspective and lighting. Keep a visible approval state so unfinished concepts do not accidentally become production assets.
Write an art brief that can be checked
An illustrative character brief might read: “Original small forest explorer for a side-view 2D game. Clear rounded silhouette, muted green coat, warm brown boots, simple facial details, soft light from the upper left. Full body visible. Neutral standing pose. No lettering, extra props, or decorative background. The final sprite will be reviewed at a small gameplay size.”
The brief should describe the project's needs rather than imitate a named franchise. Add the required view and the specific asset role. If you need a separate icon, describe it as an icon rather than asking for a character illustration and hoping it will shrink well.
Use the brief as a rejection checklist. If an image has the wrong view, a complicated silhouette, or lighting inconsistent with the scene, identify that problem explicitly. This makes iteration more focused than repeatedly asking for something better without naming the defect.
Normalise before judging the set
Place candidates on consistent canvases and compare their apparent scale. A character with more empty margin can look smaller even when the file dimensions match. Align meaningful reference points, such as the feet for standing characters, so the comparison reflects the artwork rather than inconsistent framing.
Review the palette and contrast together. A collectible may need to stand out from the background, while a decorative prop should not compete with an interactive object. Do not force every asset to have identical contrast simply for visual uniformity; give the differences a gameplay purpose.
Inspect transparency and edge treatment. Look for halos, stray pixels, or background fragments. Test the asset over representative scene colours. A flaw that is invisible on a white editing canvas can become obvious against a dark game environment.
Treat sprite animation as a separate production problem
A collection of similar character images is not automatically a usable animation. Frames need consistent scale, alignment, proportions, and a coherent progression of poses. Decide which states you need before generating or drawing them, such as idle, movement, interaction, and a transition between actions.
For a first test, use one short animation with a clear start and end. Keep a consistent canvas and reference point. Review the frames in sequence and compare adjacent poses. If the character's body changes rather than moves, correct the artwork before spending time tuning playback speed.
Godot's documentation describes using AnimatedSprite2D with individual images or a sprite sheet through a SpriteFrames resource. This provides a concrete integration route for testing a prepared sequence. Follow the documentation for your installed version rather than assuming every engine uses the same import controls. Source: Godot 2D sprite animation.
Inspect the motion inside the game
Watch the character against the actual background at gameplay size. Check whether the feet appear to slide, the body jumps between frames, or a held object changes shape. Compare the silhouette during different states. The asset needs to remain readable while the player is doing something else, not only when viewed in an isolated preview.
Check transitions as well as loops. Moving from idle to walking may expose an alignment difference that is hard to notice within either animation alone. Use the same test conditions for each revision so you can tell whether the change improved the problem.
Do not use visual art as the only basis for gameplay behaviour. Review collision and interaction settings separately within the project. An attractive sprite does not establish that the character stops at the correct place or that a collectible's interaction area matches the intended design.
Make tiles prove that they repeat
For a ground or wall tile, build a small repeated grid in the engine or editor. Inspect the joins horizontally and vertically. A generated image may look texture-like while still containing a visible edge or a distinctive feature that repeats too obviously.
Check the tile in context with the character and other assets. A highly detailed ground can reduce the visibility of small interactive objects. Simplify texture contrast where necessary, and reserve strong visual emphasis for information the player needs to notice.
Keep the tile specification with the file. Record its dimensions, intended use, and any neighbouring variants. If the set includes corners or transitions, verify those combinations deliberately. One attractive central tile does not establish that the complete environment can be assembled cleanly.
Build icons for their actual display size
An inventory icon should communicate its identity quickly. Begin with a clear silhouette and a limited number of distinguishing features. View the candidate at the size used by the interface before approving it. Details that are obvious in a large generated image can merge into noise after reduction.
Compare related icons in a grid. Check that they share a visual language while remaining distinguishable. If two items differ only by a subtle colour shift, consider another visible distinction. The player should not need to inspect a large preview to understand a routine inventory choice.
Keep labels as editable interface text where appropriate rather than relying on words embedded in generated artwork. That gives you a clearer route for proofreading, localisation, and later changes. Test the icon beside its actual label and background treatment before final approval.
Keep a production record for each accepted asset
Record the asset's purpose, creator or generation tool, model where known, input references, date, and revision history. Keep the source material separate from the approved game export. This helps the team reproduce the process and understand which files are safe to replace.
Check the applicable terms for the service, selected model, input material, and distribution destination. Do not assume that a paid subscription resolves every permission question or that all models inside one platform have identical conditions. This guide makes no blanket ownership or commercial-use guarantee.
If you distribute through a store or marketplace, consult its current submission requirements before release. Keep any required disclosures consistent with the actual production process. Avoid copying broad legal claims from tool roundups into your project documentation without checking the relevant source.
Measure usable assets, not attractive previews
Track how many assets reach the accepted state and why others fail. Useful rejection reasons include wrong perspective, inconsistent scale, unreadable detail, poor transparency, and animation instability. These categories help you improve the brief and compare tools on the work that matters.
Include cleanup and integration effort when evaluating cost. A generation that takes little time may still need substantial editing. Conversely, an ordinary-looking concept may be easy to turn into a dependable asset. Count the complete path from brief to in-engine acceptance.
Do not turn a small experiment into a universal claim about productivity. Your result depends on the art style, asset type, skill, hardware, and acceptance criteria. Use the trial to choose a workflow for the current game, and revisit the decision when the requirements change.
A sensible first production milestone
Build one playable scene with a small coherent set of assets. Include a character action, a repeated surface, an interactive item, and a background element. This exposes several production requirements without forcing you to generate an entire game's worth of artwork before understanding the pipeline.
Ask someone unfamiliar with the scene to identify what can be interacted with and what is decorative. Watch where they hesitate. Their response can reveal readability problems that are easy to miss when you already know what every object means.
Use that feedback to revise the art specification, then document the approved choices. Expand the asset library only after the small scene works. This keeps experimentation connected to the game rather than letting the image-generation process become an end in itself.
Frequently asked questions
Can an AI generator make a complete game-ready sprite sheet?
It may produce a useful starting point, but this guide does not promise correct frame alignment, consistent anatomy, or usable state transitions. Inspect and prepare the frames, then test the sequence in the engine. A sprite-sheet-shaped image is not proof of a finished animation.
Which tool is best for consistent game art?
There is no independently measured winner here. Scenario's custom-model approach, Leonardo's creative workflow, and Firefly's generation and editing tools are different options to trial. Compare a small related asset set against the same specification and include cleanup effort.
Should every asset use AI?
No production requirement follows from choosing an AI tool. Use manual drawing, licensed assets, generated concepts, or a combination where appropriate. Consistency and functionality matter more than forcing every item through the same creation method.
What should I do when an asset looks good but plays badly?
Identify the gameplay problem first. Simplify detail, adjust scale or contrast, fix alignment, or choose a different silhouette. Judge the revision in the scene where the problem occurred. The game is the final context for deciding whether the asset works.
See our AI game art generators overview for the broader topic, and the beginner animation guide for planning and reviewing motion.