

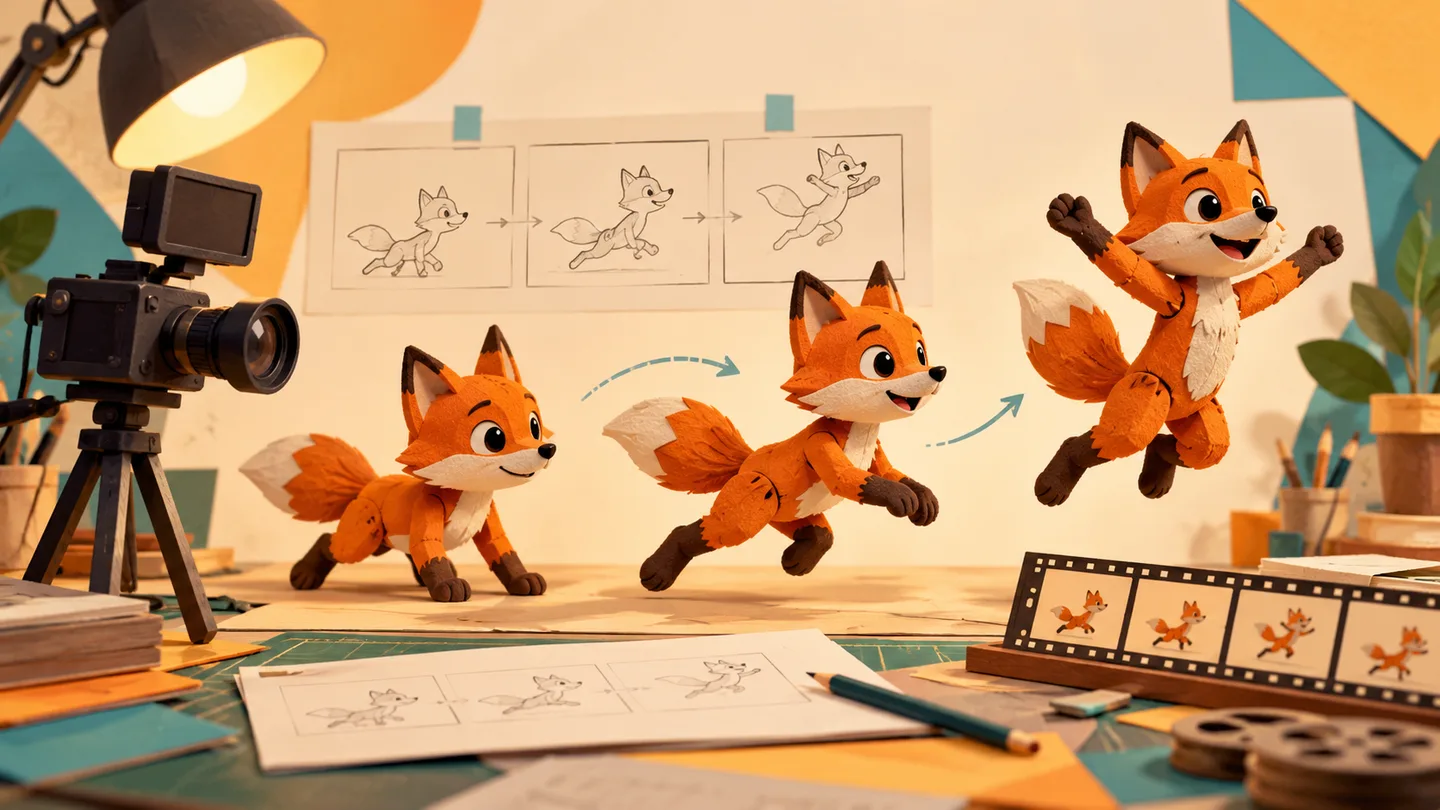
Your first animation does not need a complicated story or a long list of subscriptions. It needs a clear action, a suitable tool, and a way to revise the result. A character saying one useful sentence can teach you more about animation production than an ambitious film that never reaches a finished export.
The term “animation tools” covers several different workflows. Some software moves a prepared character in response to speech or a performance. Some generates a video from an image and instructions. Other applications give you direct control over objects, poses, timing, and camera movement. Their results and editing possibilities are different.
This guide compares Adobe Express, Adobe Character Animator, Runway, and Blender as starting points for different tasks. Official product pages and documentation were checked on October 12, 2026. The suggested exercises are practical editorial guidance, not a claim that these tools were independently benchmarked or that they guarantee a particular production speed.
Decide what you want to animate
Start by writing a single sentence about the finished piece. “A friendly character explains how to return a library book” is a manageable brief. “An exciting animated universe with several characters and cinematic action” contains too many unresolved decisions for a first project. Narrowing the brief helps you choose the production method.
Next, decide what must stay consistent. A recurring mascot needs a recognisable face, colours, and proportions. A diagram needs labels and relationships to remain correct. An abstract background can tolerate more variation. The stricter the requirement, the more important it is to inspect the tool's editing controls rather than judging only the first generated clip.
Finally, define the output. Is the animation for a presentation, a horizontal video, a vertical short, or a game? Specify the aspect ratio and how it will be played. A rendered movie is not the same deliverable as an editable character rig or an interactive game animation.
Match the tool to the job
| Starting point | Tool to investigate | What you control | What to check in a trial |
|---|---|---|---|
| A character speaking recorded audio | Adobe Express | Audio, character choice and composition | Timing, gestures and export |
| A recurring performance-driven puppet | Character Animator | Performance and puppet behaviour | Starter versus Pro capabilities |
| Motion from an existing still image | Runway | Input image and motion instructions | Consistency across frames |
| A scene requiring precise object control | Blender | Keyframes, rigs, objects and camera | Learning effort and render workflow |
These are starting points rather than exclusive categories. A finished video may combine an animated character, a title card, and manually edited footage. For a first exercise, however, use as few applications as possible. Each extra handoff adds another format, timing, or revision problem to understand.
Adobe Express: a small speaking-character project
Adobe Express documents an Animate Characters workflow based on recording or uploading audio and choosing a character. Its page presents this as a free online entry point. Review the current interface and export conditions for your account before relying on it for a larger assignment. Source: Adobe Express animation from audio.
This makes a short spoken explanation a sensible first exercise. Write the line before selecting decorative elements. Record a clear version, listen back, and remove mistakes in the script or recording before animating it. Trying to fix the performance after building the visual scene can make a simple task unnecessarily complicated.
Assess whether the automatic movement supports the message. An energetic gesture may suit an introduction but distract during a careful explanation. If the available controls cannot produce the restraint you need, simplify the scene or use a different production method. The right tool is the one that supports the intended communication.
Character Animator: a puppet you can perform
Adobe describes Character Animator as using a webcam and microphone for performance-driven animation, including lip sync and tracking. It offers a free Starter mode and distinguishes it from Pro features for more extensive character creation and control. Do not assume the Starter edition includes every capability shown on the product page. Source: Adobe Character Animator.
A useful trial is a recurring presenter who says two different lines while remaining visually consistent. Pay attention to how the puppet behaves when you pause, turn, or change expression. Record several takes and compare them for clarity. A natural performance may matter more than elaborate movement.
If you eventually need a custom character, plan its design around the animation method. A beautiful flattened illustration may need preparation before it behaves as an editable puppet. Start with a supported example character to learn the performance workflow, then investigate the artwork and rigging requirements for your own design.
Runway: explore a moving image
Runway's Gen-4 prompting guide separates subject movement, scene movement, and camera movement. It recommends describing motion clearly and using the input image to establish visual details. That documentation is useful for an image-to-video trial, without implying that the named model is the only or newest option in the current product. Source: Runway motion prompting.
Choose an uncomplicated starting image and request one action. For example, an original illustrated character could look toward the camera while the background stays still. Adding a walk, a turn, a prop interaction, and a moving camera at once makes it harder to understand why a result fails.
Inspect the whole clip. Look for changing facial details, disappearing objects, unusual hand movement, or a background that bends. Keep a record of the prompt and input for useful attempts. If a shot must match another shot precisely, evaluate that relationship before generating a long sequence around it.
Blender: direct control with more preparation
Blender's official animation feature page lists animation and rigging tools, including keyframing and constraints. It belongs in this comparison as a conventional animation environment, not as a promise that a text prompt will automatically produce a finished film. Source: Blender animation and rigging.
A small exercise is to animate one simple object moving between two positions, then adjust the timing. This exposes the relationship between poses and the motion between them. Use a basic scene so you can learn the controls without also solving modelling, materials, complex lighting, and character design.
Consider this route when repeatable timing or exact object relationships matter. It requires learning more of the production process, but it also gives you a way to revise specific elements. If an object must stop at a known position, direct control may be more appropriate than repeatedly generating a whole shot.
A practical workflow for your first short
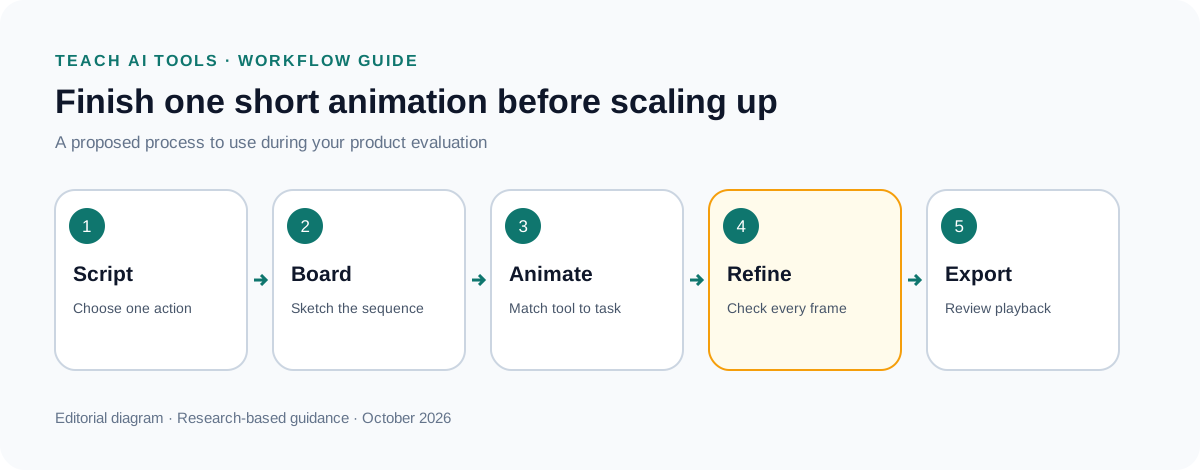
Choose a short message with one purpose. Write the spoken line or the sequence of visible actions. Read it aloud and remove unnecessary setup. A beginner project benefits from a clear ending: a character points to the next step, an object reaches its destination, or a question appears for the audience.
Sketch a few storyboard panels. They can be rough boxes with simple shapes. Each panel should show the important object, the camera view, and what changes. If you cannot explain the transition between two panels, resolve that before producing detailed assets.
Prepare the audio or reference image next. Keep a clean original and a working copy. Use material you are allowed to use. Give the files descriptive names so a later revision does not become a search through several unrelated downloads.
Create the first pass with minimal decoration. Review timing, movement, and meaning. Only after the action works should you add titles, music, or secondary effects. Export a small draft and watch it outside the editor; that is the first useful evidence that the production chain works.
Build a simple storyboard
Suppose the illustrative project is a character explaining where to submit a form. The first panel introduces the character and the question. The second shows the destination clearly. The third repeats the required action and holds long enough to be understood. There is no need to add a scene change merely because the software offers one.
Write what the audience should notice in each panel. If everything moves at once, attention can become unclear. Keep background movement restrained when the viewer needs to read or listen. Use movement to direct attention toward information rather than as a constant decorative layer.
Mark what must remain consistent: the character's appearance, the position of a relevant object, or the colour used for an instruction. These notes become your review checklist. They are especially useful when generative clips look convincing individually but do not connect coherently.
Record audio before chasing visual polish
For speech-led animation, listen to the recording on ordinary headphones or speakers. Check that words are understandable, names are pronounced correctly, and pauses support the message. A clean visual cannot compensate for an instruction that is difficult to hear.
Leave room for natural pauses. Removing every silence can make a short explanation feel rushed. If the character points to something, allow time for the viewer to look at it. The right pacing depends on the material and audience; this guide does not prescribe a universal number of seconds per sentence.
If you revise the script, update the audio before adjusting the final animation. Keep the earlier take until you know the replacement works. A simple version log prevents accidental use of an obsolete recording in the final export.
Prompt motion with fewer competing instructions
For a generated clip, separate the visual identity from the action. Use a suitable input image for the subject and describe the movement you want to explore. An illustrative instruction might be: “The character slowly turns toward the viewer and gives a small wave. The camera remains still.”
If the result is wrong, change one variable. Reduce the action, adjust the input composition, or simplify the camera instruction. Keeping the other inputs stable makes it easier to learn which change helped. Generating unrelated prompts may produce an appealing clip without teaching you how to reproduce the result.
Do not assume that one product's controls apply to another. Terms such as motion strength, reference image, seed, or camera control can mean different things across interfaces. Use the documentation for the actual model and workflow you selected, and save the settings with the project where possible.
Review consistency frame by frame
Watch the clip at normal speed first, then inspect suspicious moments more closely. Check the silhouette, clothing, facial features, and any object the character holds. Look at the beginning and ending frames together. A subtle change can become obvious when the clip loops or follows another shot.
For an instructional animation, inspect the information separately. A label should remain readable and attached to the correct object. A process diagram must preserve the intended sequence. Where exact text matters, consider adding it in an editor after generating the visual material so you can control and proofread it.
For a loop, watch several repetitions. Check for a jump at the boundary or a pause that feels accidental. A loop that looks smooth once may reveal a distracting reset after repeated playback. Decide whether the animation should loop at all; a deliberate ending may be clearer.
Plan the final edit and export
Assemble the accepted shots in the intended order and check the transitions. Use a simple cut when it communicates the change clearly. Excessive transitions can hide timing problems during editing and distract from the actual message during playback.
Check titles and captions at the size viewers will see. A title that looks readable on a large monitor may be too small in a mobile feed. Keep important information away from areas likely to be covered by player controls or platform interface elements, then preview the actual destination where possible.
Export a final file and play it from beginning to end. Confirm the aspect ratio, audio, text, first frame, and ending. Keep the editable project and source assets as well as the rendered video. Future corrections are much easier when you can change the project rather than reconstruct it from the export.
Budget for finished shots, not just generations
When comparing paid plans, identify the unit being sold. It may be credits, generation time, processing allowance, or access to an editor. Check whether higher resolution, particular models, or additional exports change the cost. A headline monthly price does not describe every production expense.
Use a small trial to estimate your own revision needs. Record how many attempts you keep, why you reject the others, and how much manual cleanup remains. Do not turn a handful of trials into a universal success rate. The useful result is an understanding of whether the tool suits this particular project.
Set a stopping rule for difficult shots. If repeated attempts fail to preserve an essential detail, simplify the action or change the method. A still image with a controlled pan may communicate the idea better than an unstable generated sequence. Creative restraint can be a practical production choice.
Frequently asked questions
What is the easiest animation tool for a beginner?
The easiest starting point depends on the task. A prepared speaking character is a smaller problem than a custom 3D scene. Adobe Express and Character Animator Starter are worth investigating for speech-led exercises, while a generated moving image or a directly animated scene requires a different evaluation.
Is Blender an AI animation generator?
In this guide it is included for its conventional animation and rigging workflow. Its role is direct control over a scene. Do not assume it provides the same prompt-to-video experience as a generative video service.
Can I make a consistent character across several clips?
You can design a process that checks for consistency, but this guide does not promise that generated clips will preserve every detail. A prepared puppet or controlled rig may suit repeated appearances better. Test the exact requirement before committing to a long series.
Do I need several subscriptions?
Usually the first question is whether one tool can complete your small project. Add another application only when you can name the missing capability. Keep the production chain understandable until you have successfully finished and revised a short piece.
Continue with our AI animation software overview for the broader category. If your next step is assembling recordings and captions, use the AI video editing workflow.